
How to Set Up a QR Photo Gallery in 5 Minutes
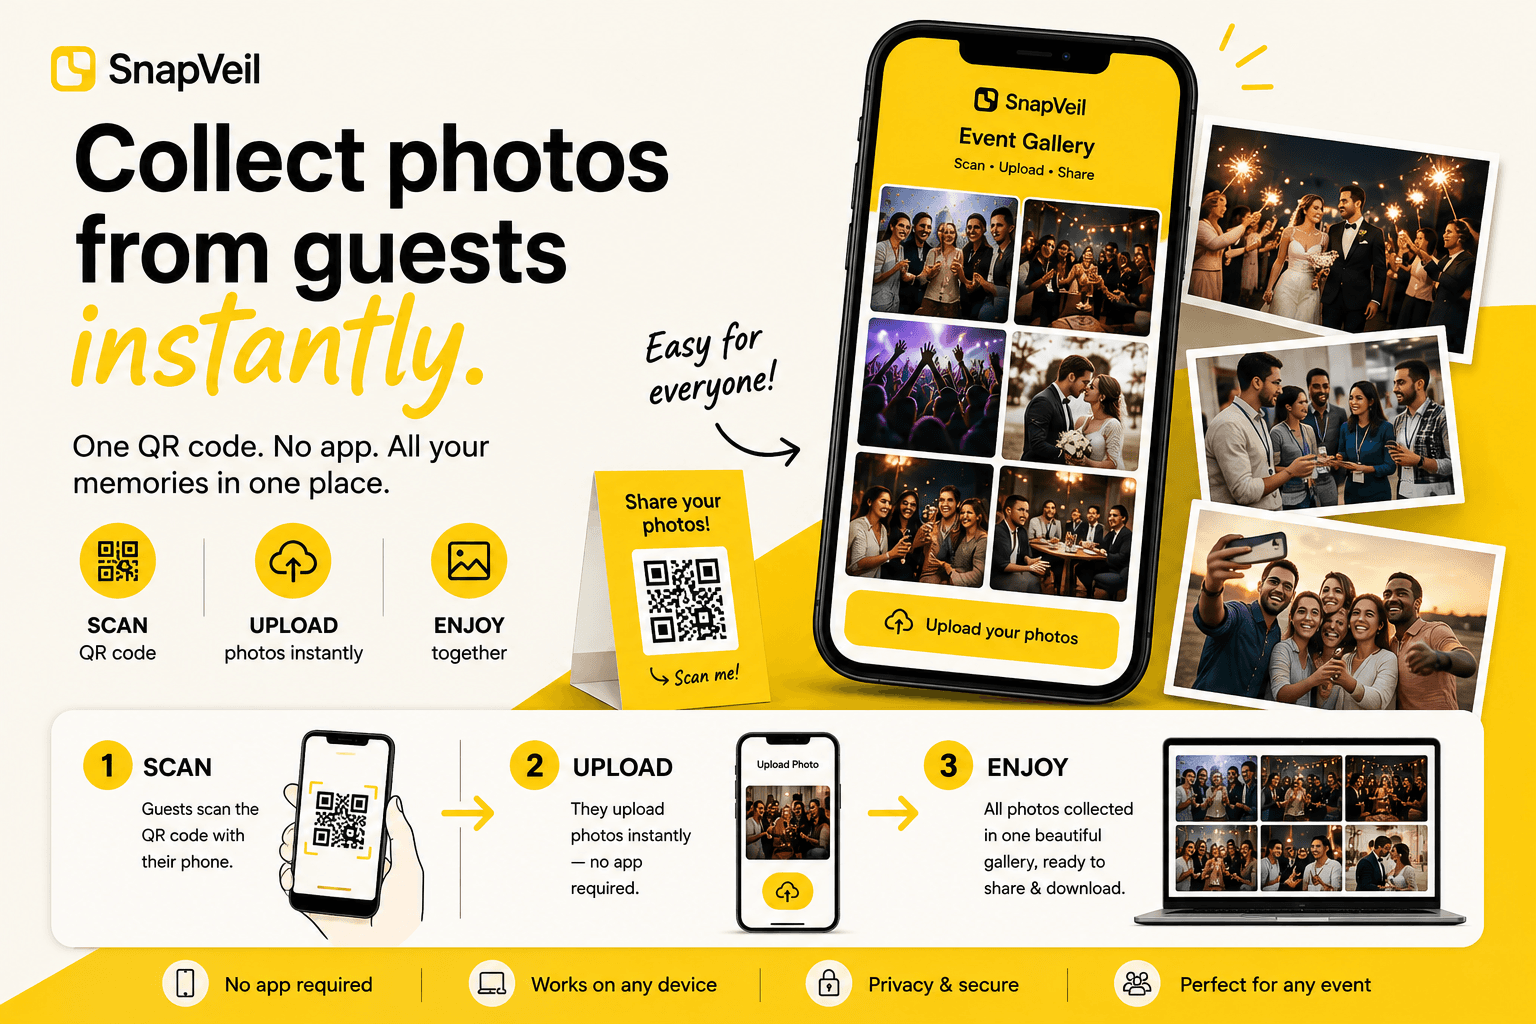
By the end of this tutorial you will have three things: one QR code, one private photo gallery behind it, and a way for guests to upload their photos straight from the browser on their phone. No app, no guest accounts, no chasing people for pictures afterwards. The setup takes about five minutes, most of it spent deciding on a name and a password.
The steps follow Snapveil, our own product, so the settings are described as they are there. Other browser-based gallery tools work similarly, and the advice on printing, testing and announcing the code applies to all of them.
What you need before you start
Very little. A phone or a laptop with a browser, the date of the event, and five uninterrupted minutes. You do not need the guest list, the seating plan or the final venue details. If you plan to print the code on table cards or a sign, create the gallery early enough to get the files to a printer.
Step 1: Create the gallery
Open the gallery creation page and give the event a name. Choose something guests will recognise, such as "Anna & Tom's wedding", rather than an internal project code. Then set the event date.
Two settings deserve thought. The first is the password. Every gallery is private in the sense that only people with the link or the QR code can open it, and for a birthday among friends that is usually enough. If the code will hang in a semi-public place, for instance a hotel foyer during a corporate event, a password adds a second barrier. The second setting is what guests may do once they are in: upload and download, or upload and view only. View only makes sense when you want to decide which photos get passed around afterwards. Both the password and the permission choice are part of the Pro plan; on the free plan the gallery is protected by its link alone. Save, and the gallery is live.
Step 2: Get the QR code and the link
As soon as the gallery exists, you get two things that point to the same place: a QR code and a plain link. Save the QR code as an image for printing and copy the link somewhere you will find it again; the link is for anything typed or pasted, like the invitation email or the group chat.
Do not run the link through a third-party shortener; if that service disappears, the code on all your printed cards leads nowhere.
Step 3: Print or display the code
Guests upload photos when the code is in front of them, so this step decides how many pictures you get. For a seated dinner, a small card on every table works best: a QR code of at least three centimetres, a one-line instruction such as "Scan to add your photos" and, if you set one, the password. For a standing reception or a birthday party, one larger sign at the entrance or next to the bar does the job. At a wedding, the welcome sign that guests pass on the way in is the natural spot.
If there is a screen in the room, put the code on a slide and show it between programme points. On Pro, the live photo wall does this for you: incoming photos as a slideshow, mosaic or spotlight on a projector or TV, with the QR code on screen as a standing reminder.
Whatever you print, post the plain link in the group chat as well. Some guests have a scratched camera lens, an older phone or no patience for scanning, and the link catches them all.
Step 4: Test it yourself
Before anything goes to the printer, scan the code with your own phone and upload one photo. Then borrow a phone with the other operating system, so you have seen the upload page on both iOS and Android. Check three things: the gallery that opens is the right one, the password works with exactly what you wrote on the cards, and the photo shows up in the gallery afterwards.
This catches most setup problems before the day and lets you answer "does this work on my phone?" with a straight yes. We have looked at which phones support QR code uploads separately.
Step 5: Tell guests once at the event
Cards on the table are easy to overlook in the middle of dinner, so say it out loud once. A single sentence during the welcome or right before the first course is enough: "There is a QR code on every table. Scan it and your photos go straight into our gallery." One announcement early beats three reminders later, because people start uploading during the event instead of the next morning.
After the event
Wait a day or two, because photos keep arriving after the last dance, then download everything. On Pro this is a single bulk download in original quality with metadata intact, so dates and camera information survive. On the free plan, downloads are in SD quality.
Sharing the gallery back means sending the same link again. Guests who already scanned the code can open it any time, and anyone who missed the event gets in by forwarding the link and, if set, the password. If you chose view only in step 1, they can look but not save; say so, or someone will ask where the download button went.
Keep the storage period in mind. A free gallery is stored for 2 months, a Pro gallery for 12 months, and either can be extended by another 12 months from 9,90 €. Set a reminder before the period ends.
What the free plan covers and what Pro adds
Snapveil is priced per event, once, with no subscription. The free plan holds up to 250 photos, no videos, stores them for 2 months and offers downloads in SD quality. That is enough for a small party or to try the workflow.
Pro costs 9,90 € per event and adds the pieces mentioned along the way: the password, the upload, download and view-only permissions, bulk download in original quality including metadata, up to 10 videos of up to 3 minutes each, the live photo wall for a projector or TV, unlimited guests and 12 months of storage. If you need the password or the original-quality download, that is the step up.
Common mistakes
Most failures are not technical. The code is printed too small, typically a two-centimetre square on a business-card insert that older phones struggle to focus on. The cards go to the printer the day before the event, which leaves no time for the test in step 4. Nobody mentions the gallery during the event, so guests discover the cards while the tables are being cleared. And a password is set but not written on the cards, which turns the first scan into a dead end.
All four are avoided by doing the steps in order: create the gallery early, test it, print the code large with the password next to it, and say one sentence at the right moment.
Frequently Asked Questions
Related Articles
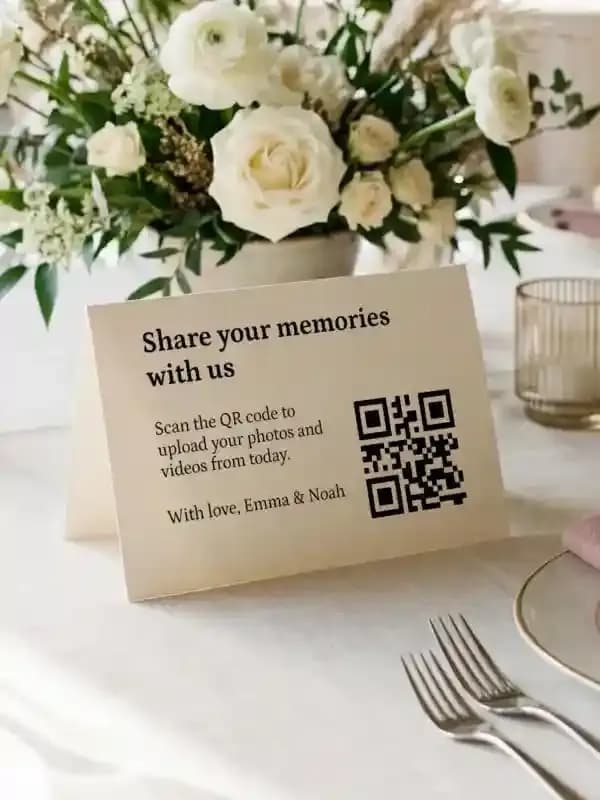
Share Wedding Photos Instantly with QR Codes (No App Needed)
Stop chasing guest photos! Let guests upload wedding pictures instantly via QR code—simple, fast, and perfect for capturing every moment.
Read article
DIY Wedding Place Cards: Format, Paper and Printing at Home
How to make wedding place cards yourself: which format and paper work, what belongs on the card, and how a guest list becomes a print-ready PDF.
Read article
Wedding Table Numbers: Size, Placement and a Free Printable Template
How large wedding table numbers need to be, where they stand and what else goes on the card. With a free template to print at home in A6 or A5.
Read article