
QR Code Photo Uploads for Group Events: Guide
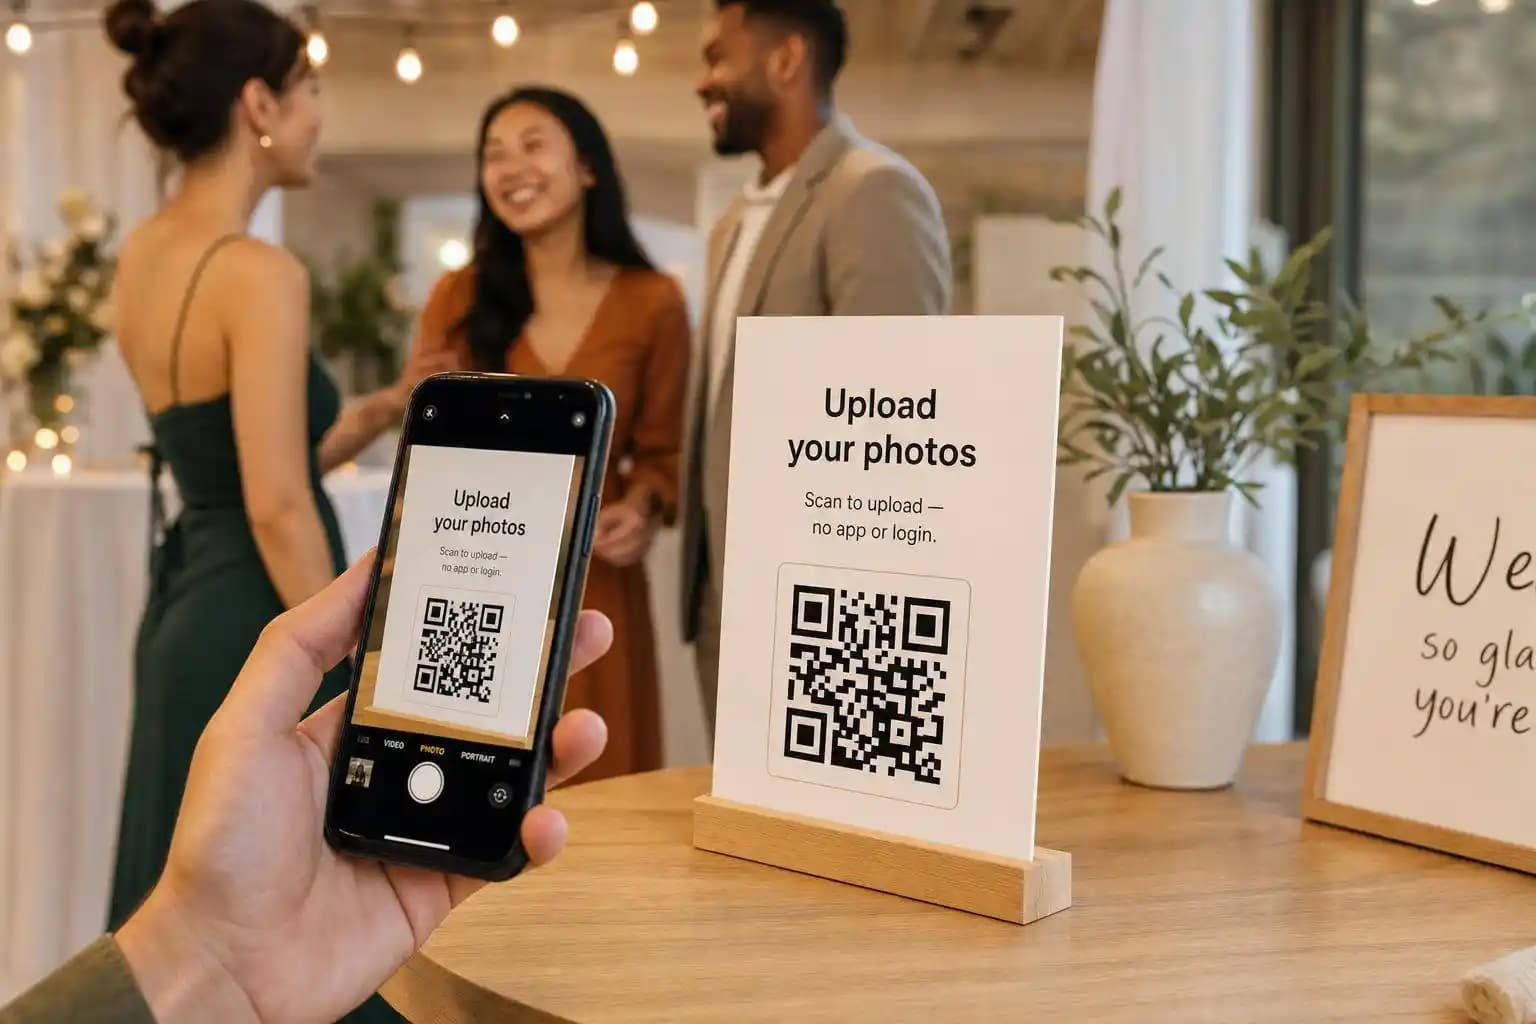
Here’s the short version: I’d set up the gallery 1–2 weeks before the event, test the code on iPhone and Android, print it in high contrast, place signs where guests naturally stop, and add a backup short URL under the code. After the event, I’d sort the gallery, remove duplicates, and send the final link with a thank-you note.
What matters most:
- Link the QR code straight to the upload page
- Avoid app installs and account signup screens
- Keep the gallery private and turn on review controls if needed
- Use clear sign copy: Scan to upload your photos - no app needed
- Place signs at tables, the bar, the entrance, and the photo booth
- Watch uploads during the event and send one follow-up link later
- Keep original photo quality instead of using compressed messaging apps
A few details can make a big difference. For example, a messaging app may shrink a 12 MP image to around 2 MP, while a direct upload page can keep the original file quality. I’d also skip glossy prints since glare can make scanning fail.
If your goal is simple - get more guest photos in one private place without extra hassle - this setup is usually the easiest way to do it.
QR Code for Wedding Pictures: Share & View Guest Photos ✅
Set up your gallery and generate a QR code that goes straight to upload
Create the event gallery 1–2 weeks before the event, give it a clear name like Sarah & John's Wedding, add the event date, and generate the QR code. Most platforms create a QR code for you at that stage, and it links straight to the upload page.
Before you print anything, test the whole process on both iPhone and Android. Scan the code, pick a photo from your phone, and finish the upload. The goal is simple: guests should be able to upload without hitting an account signup screen or being told to install an app.
Set privacy options and guest permissions before the event
Set upload and viewing permissions before you share the code. For most weddings, it makes sense to let guests upload photos while keeping the gallery private until after the event. That way, guests can send pictures without hassle, and you can check everything before it’s shared more broadly.
Snapveil lets you control guest permissions, including password-protected access and moderation, so you can review photos before they appear to anyone else. It’s also smart to set the gallery expiration window before the event, so you have enough time to download everything.
Once access is ready, the next step is making sure the code is easy to scan.
Print a high-contrast QR code that scans reliably
Download the QR code as a high-resolution PNG or SVG. Use a dark code on a plain light background, and leave enough white space around all four edges. Avoid high-gloss paper. It can reflect light and make scanning harder. Matte or semi-gloss usually works better in mixed lighting.
Use these QR sizes:
| Sign Type | Sign Size | Min. QR Code Size |
|---|---|---|
| Table Card | 4" × 6" or 5" × 7" | ~1.2" × 1.2" (3 × 3 cm) |
| Bar / Buffet Sign | 8" × 10" | ~2" × 2" (5 × 5 cm) |
| Welcome Sign | 18" × 24" or larger | ~4" × 4" (10 × 10 cm) |
Bigger is usually safer than the bare minimum.
Once the code prints cleanly, make the sign itself easy to read.
Design signs guests can read in a few seconds
Once the QR code is printed, the next step is simple: make the sign easy to understand at a glance. Guests should be able to read it, get it, and scan it in just a few seconds.
That usually means three things:
- a bold headline
- one short instruction
- a large QR code
If people have to stop and figure it out, you've already lost them.
Use clear wording like 'Scan to upload your photos - no app needed'
Your headline should answer the guest's first question right away. A line like "Scan to upload your photos - no app needed" works well because it tells people what to do and removes a common point of hesitation. Phrases like "No app needed" can lower friction for non-technical guests. A privacy cue such as "Private event gallery" can also help guests feel more at ease about sharing.
A simple formula works best here: start with an action word like Scan or Tap, add the benefit, then close with a reassuring line such as No app, no login.
For older guests, be even more direct. Spell it out: open the camera, scan the code, tap the link.
Match table cards and display signs to the event layout
Placement matters just as much as copy. Put signs where guests naturally pause, not where they're moving fast. The best spots are places where people are already holding their phones or standing around for a minute.
| Sign Location | Recommended Size | Typical Scanning Distance | Purpose |
|---|---|---|---|
| Welcome Entrance | 18" × 24" | 5–10 feet | Sets expectations and captures arrival candids |
| Guest Tables | 4" × 6" or 5" × 7" | 1–2 feet | Captures table groups and candid dinner moments |
| Bar / Cocktail Area | 8" × 10" | 2–3 feet | Targets guests while they are queuing or mingling |
| Guest Book / Gift Table | 8" × 10" | 2 feet | Encourages sentimental uploads and messages |
| Photo Booth / Props | 8" × 10" | 2–3 feet | Captures guests already in photo mode |
| Dance Floor Entrance | 11" × 14" | 3–5 feet | Captures high-energy party and action shots |
Signs near the photo booth tend to work well because guests are already thinking about photos and already have their phones in hand. Table cards help for a different reason: seated guests have a little more time to notice the sign, read it, and scan.
Make the guest upload flow easy and add backup ways to join
Once guests can see the code, the next step is making the upload path feel almost effortless. Every extra tap between the scan and the upload gives people one more reason to stop and put their phone away.
Guide guests from scan to upload in as few steps as possible
Keep the path from scan to upload as short as you can. That means no app download and no extra login. Platforms like Snapveil let guests upload straight from the phone's browser, with nothing to install.
That shorter flow helps fill the gallery faster while the event is still in full swing.
Keep the landing page clean, too. If you ask for a display name, make it optional, and show that field before the photo picker opens. A nearby live slideshow can also nudge more guests to upload.
It also helps to have the DJ or MC mention the upload link once early in the reception. One short announcement can lift participation by a lot.
Then, if scanning doesn't work, guests need another way in.
Add a short URL, event code, and a helper plan for guests who get stuck
Set up backup entry points for guests who miss the scan. Print a short, easy-to-read URL right below the QR code so people can type it in if needed.
A designated helper - like a bridesmaid, groomsman, or tech-savvy family member - can move from table to table and help anyone who gets stuck.
A few backup options are worth having ready:
- Short URL printed under the QR code - useful when a camera won't scan, though typing by hand can lead to typos
- Event or join code - easy to say out loud for guests opening the gallery by hand
- Designated helper - gives guests a bit of personal support when phones or links get confusing
- Direct link sent by text or email - lets guests tap to join without scanning, which is handy before the event or after it
As uploads start coming in, keep one simple backup path ready for people who join later. Send a single follow-up text or email with the link within 7 days to catch late uploads.
Check uploads during the event and organize photos afterward
Once the QR code is live, keep an eye on uploads in the dashboard and fix any snags fast. Open the host dashboard to check the total upload count and see how many guests have joined the gallery. If things slow down, ask the MC for a short reminder.
During the event, clear out obvious duplicates and accidental screenshots. Leave the deeper review for the next day, when you can look through everything without rushing.
Review, sort, and share the final gallery
After the event, move from live check-ins to cleanup and sorting. Group photos into albums by moment - Ceremony, Cocktail Hour, Reception - so guests can find the shots they want without digging through one giant feed. Snapveil can auto-sort photos into albums and flag duplicates. When you're set, download the full gallery as a ZIP file in original quality for printing or putting together an album.
Send the finished gallery with your thank-you message.
Key steps for a low-confusion QR photo setup
A smooth setup usually comes down to a few simple choices made before the first guest walks in.
- Link the QR code straight to the upload page, with no extra login screens
- Put signs where guests naturally stop, like the bar and each table
- Keep instructions to one short line
- Print a backup URL under every code
- Test the scan on both an iPhone and an Android in the actual venue lighting
- Assign one helper for guests who get stuck
Planning a wedding rather than a corporate event? The same setup is covered end to end on collect wedding photos. For company parties and conferences, see photo sharing for corporate events.
Frequently Asked Questions
Related Articles
# Photobooth Software: Then vs. Now — and What to Choose Today
Photobooth software has evolved dramatically over the past two decades. What once required custom-built setups, DSLR cameras, and one-time software purchases has now shifted toward user-friendly, mobile-first solutions and subscription-based platforms. While modern tools offer more features, flexibility, and ease of us
Read article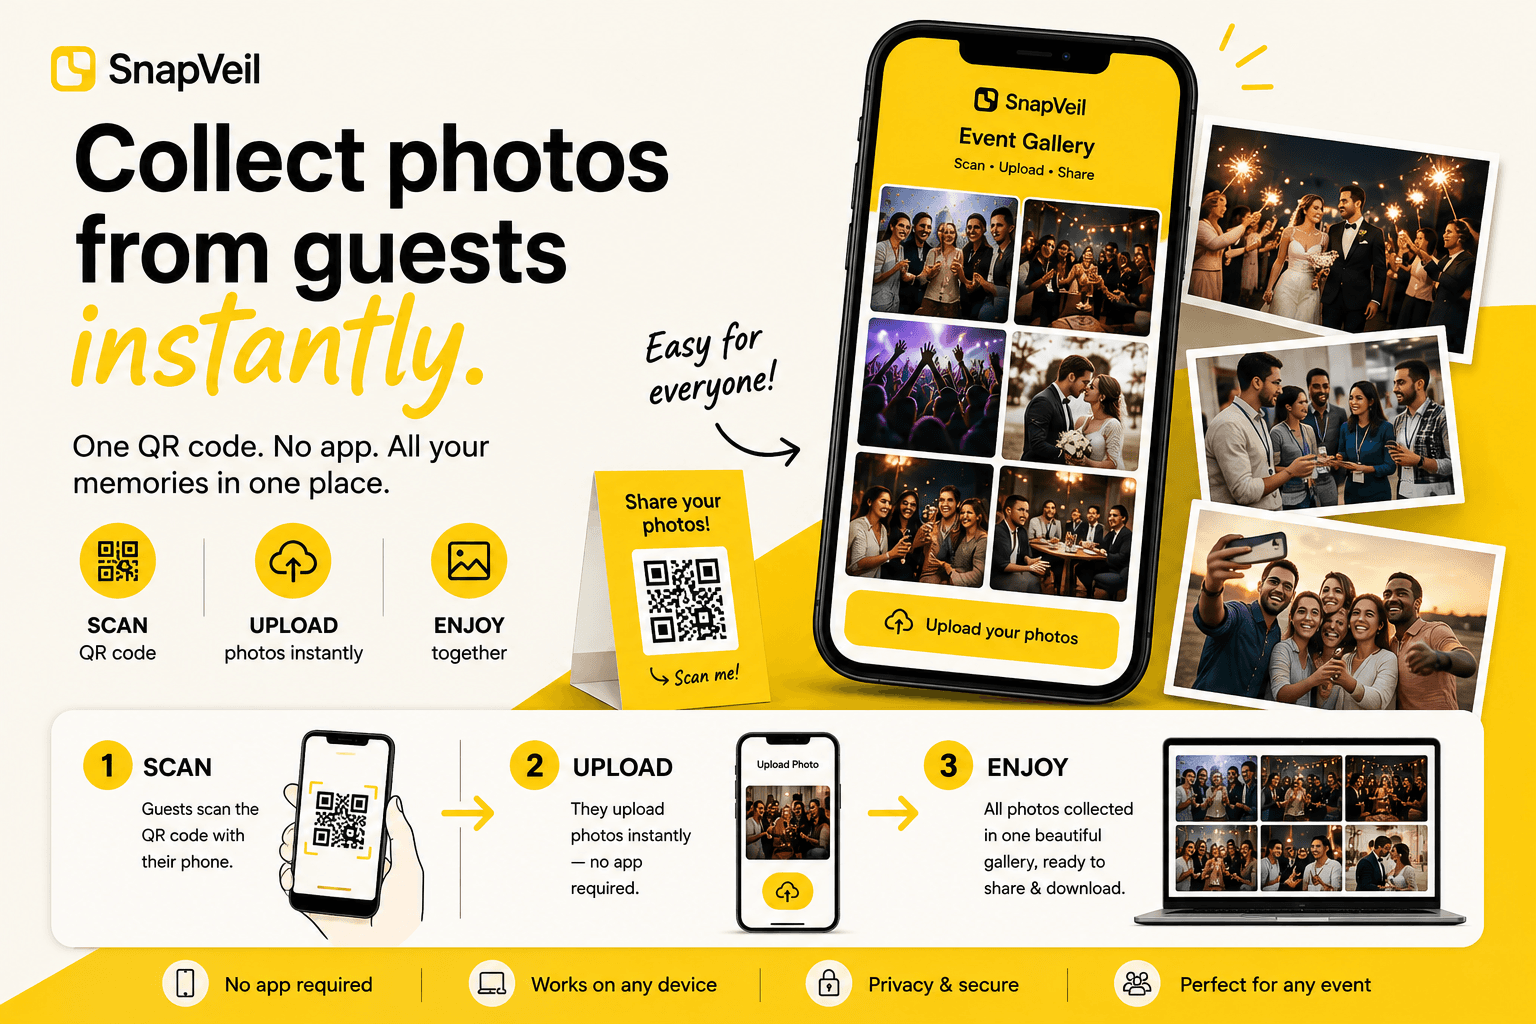
How to Set Up a QR Photo Gallery in 5 Minutes Collecting photos from guests used to be messy—endless WhatsApp groups, lost uploads, and low-quality files
This step-by-step tutorial shows you exactly how to **start a free event photo gallery**, get guests uploading within seconds, and deliver a seamless experience for weddings, corporate events, and parties.
Read article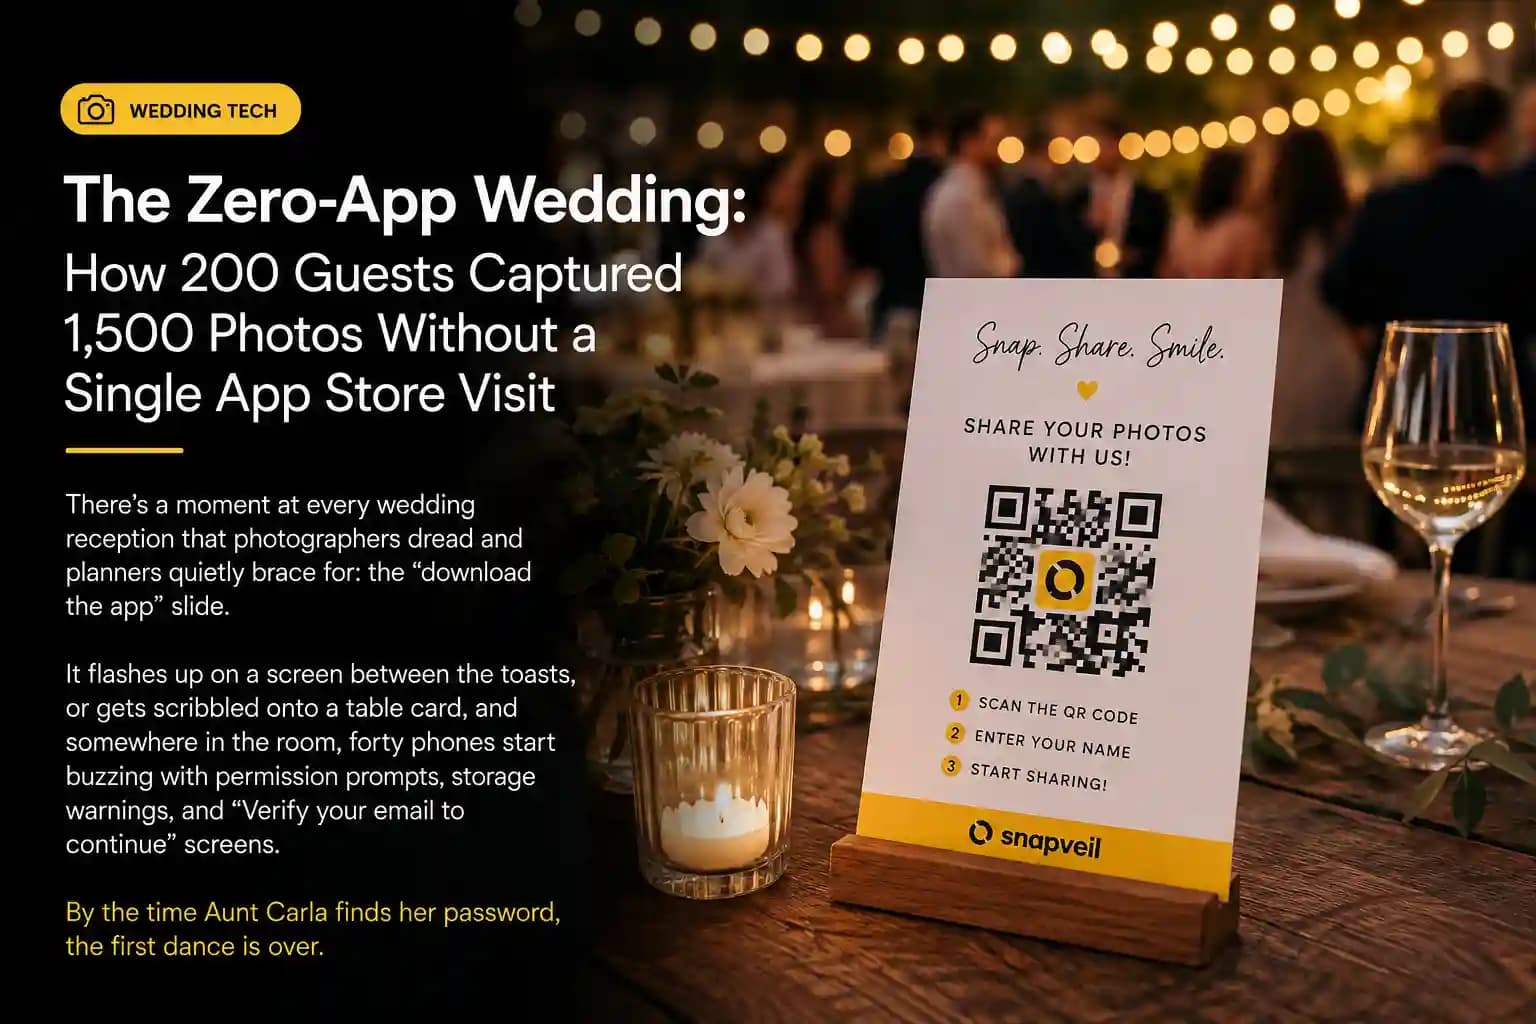
The Zero-App Wedding: How 200 Guests Captured 1,500 Photos Without a Single App Store Visit
200 wedding guests. 1,500 photos. Zero app downloads — here's how one wedding outside Münster proved that the biggest barrier to great guest photography was never technology, it was the download screen.
Read article